Self-publishing your (LaTeX) thesis
Mar 20, 2016
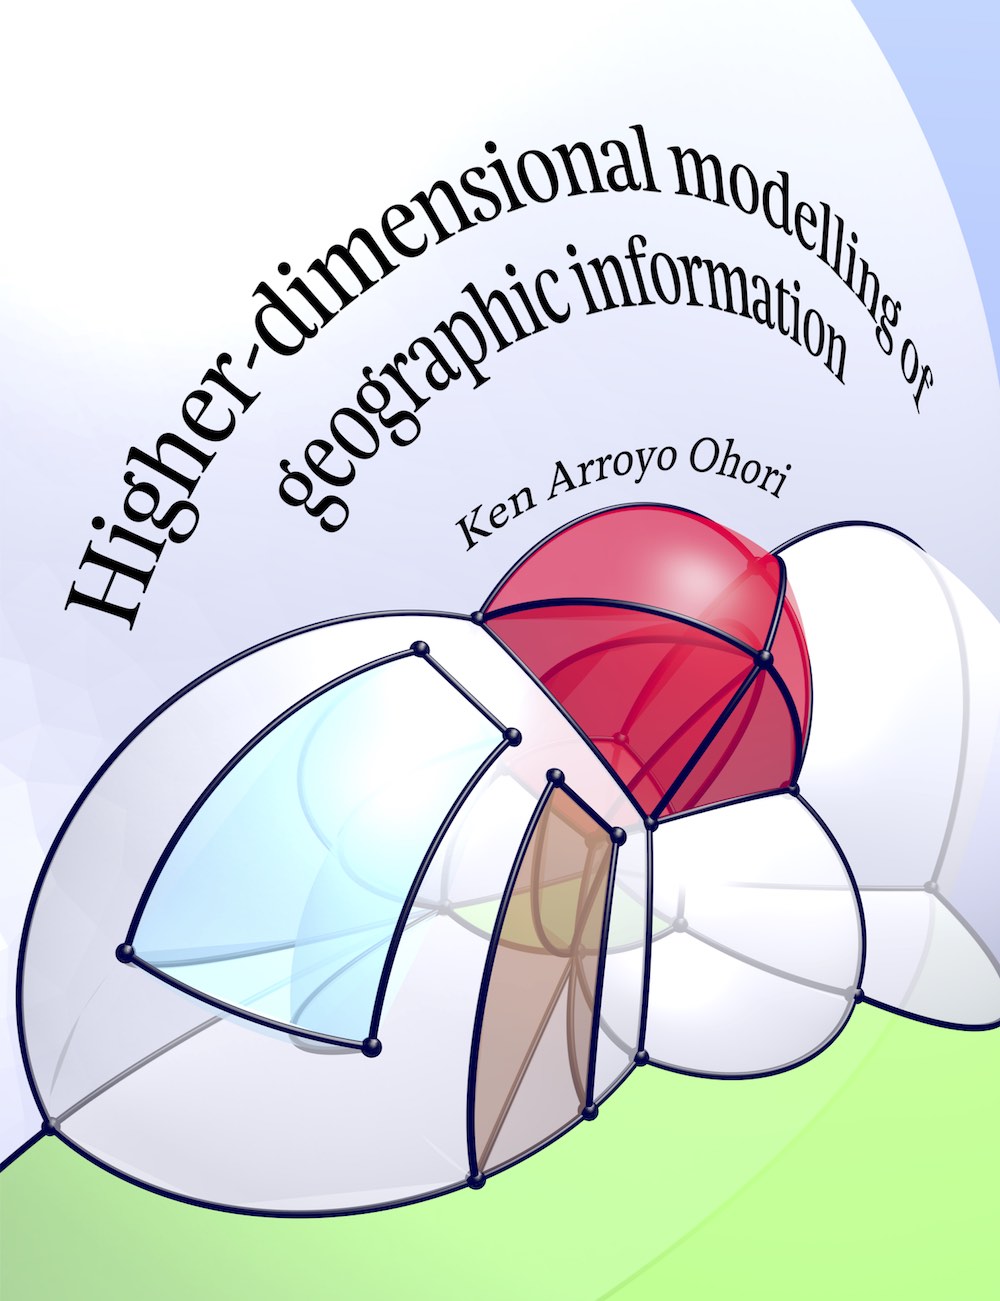
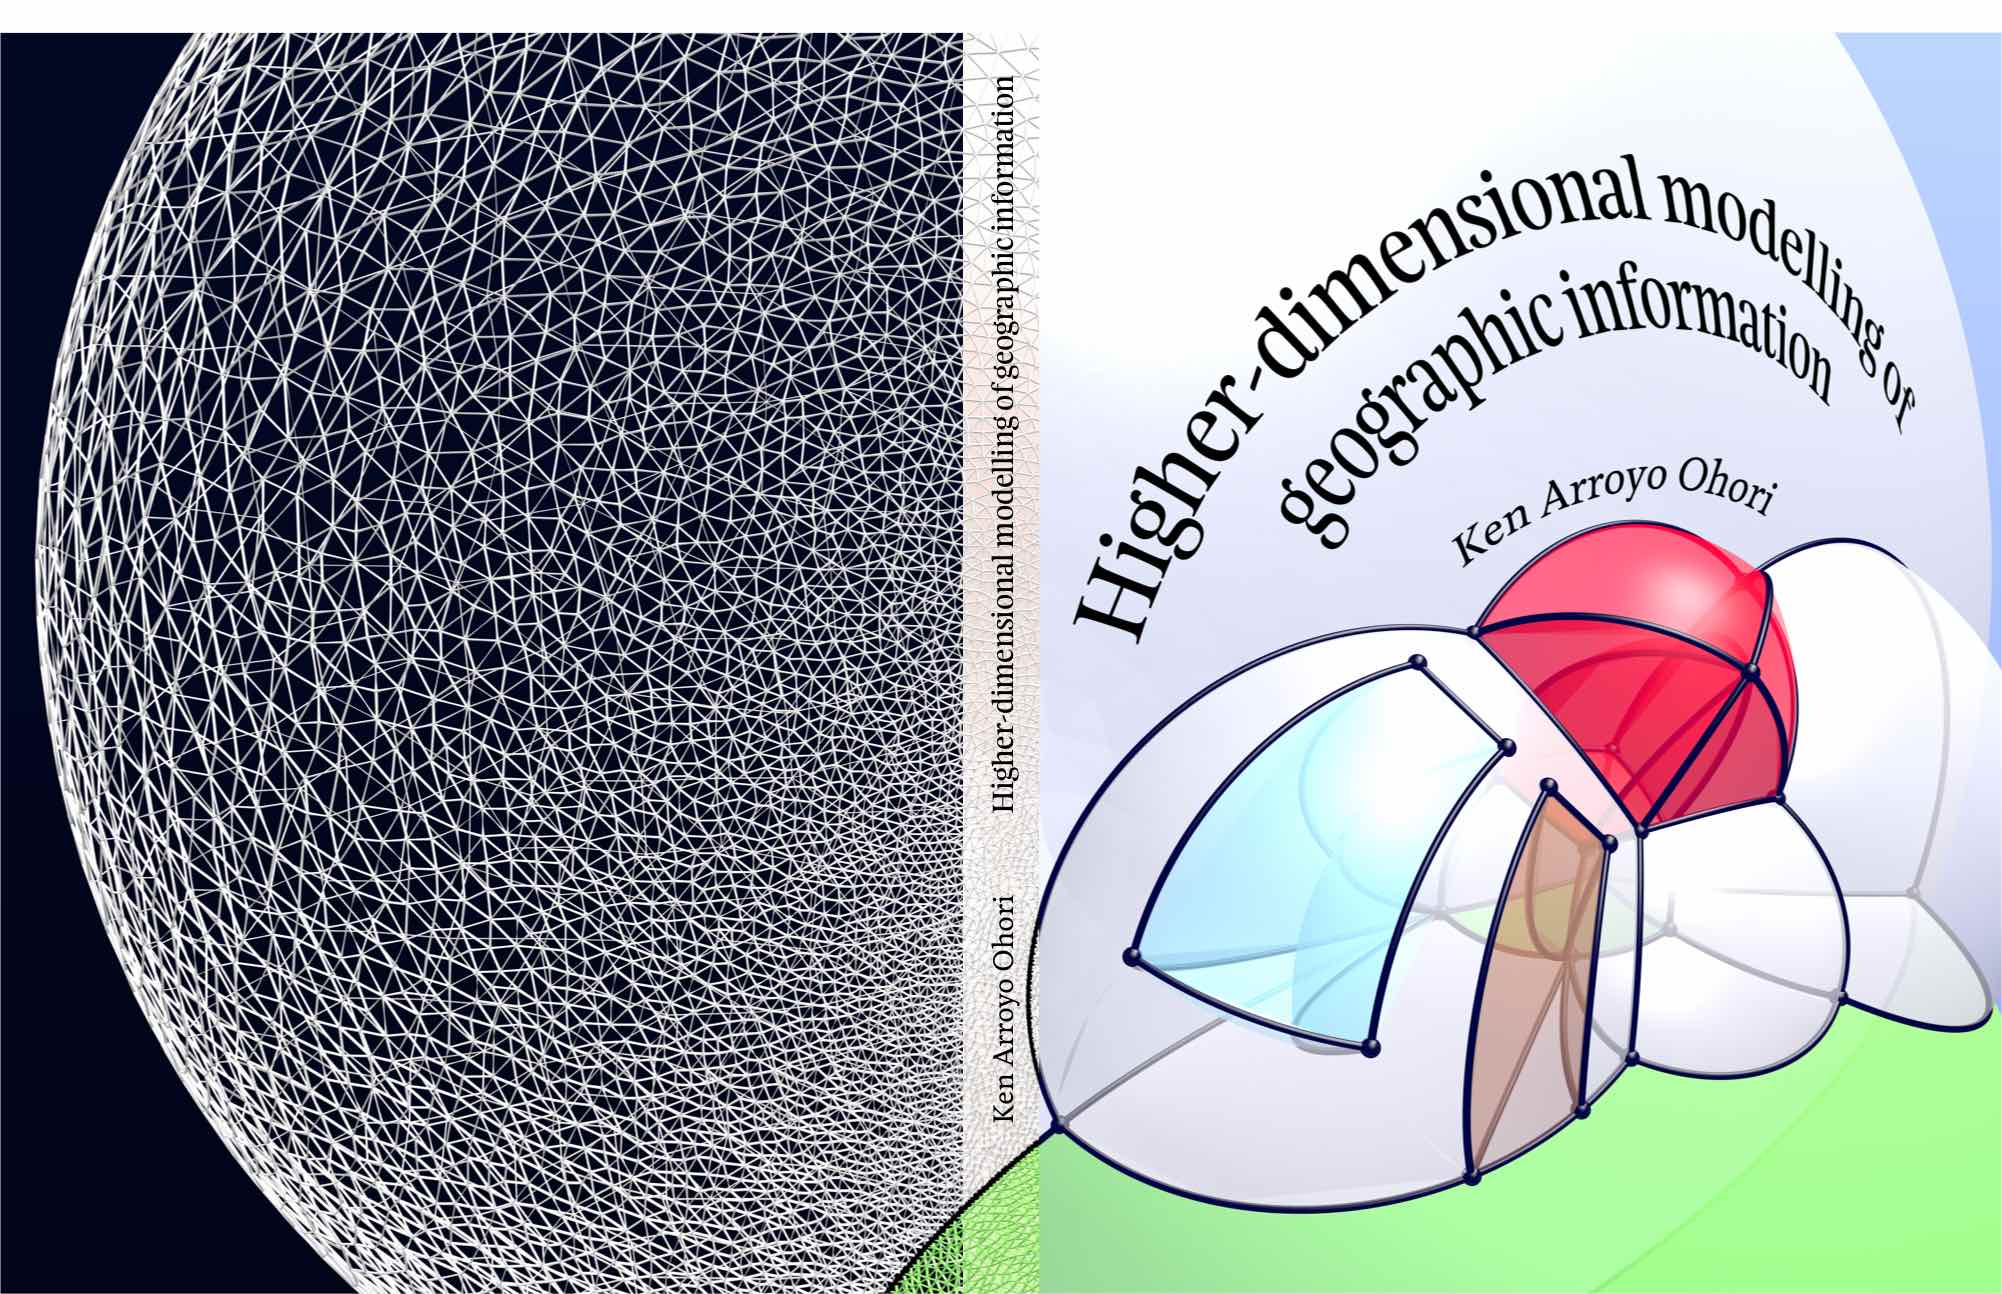
I recently finished my PhD thesis on the Higher-dimensional modelling of geographic information (High-quality 200 MB / Low-quality 15 MB / HTML). Sorry for the shameless plug, but believe me, this really is relevant to what I am trying to say.
Why?
I wrote my thesis entirely in LaTeX, which means that with the right use of certain LaTeX packages and some simple parameter tweaking, I was able to come up with a document that meets all my academic requirements and all my personal preferences1, looks professionally typeset and is pretty much ready to print2. So here comes the question… why should I send it to a publisher? Why not just do everything myself, self-publish and order as many copies as I need?
If you’re a bit of a control freak (like me), I am sure you’ll immediately see the attractiveness of this option. Upload a few PDFs (contents & cover), pay online, and receive a box of books to your home or office. But there are many side benefits as well. You can easily get an ISBN number, can order additional copies online, can put your book for sale on several online outlets, can index your thesis on Google Books, and many more. It’s usually faster than a regular publisher too!
So, as you might have guessed already, I decided to self-publish, and after having received the final version of my thesis last Friday, I can thoroughly recommend it. However, while I was researching this option, I noticed that there was little information on the internet about self-publishing your (LaTeX) thesis3, so my case was pretty much an experiment4. Here I aim to use my positive experience to encourage others to do the same.
Why not?
There are plenty of reasons. If you need a lot of help typesetting your book (e.g. because it’s ugly because it’s made in Word), if you’re not happy with the default LaTeX choices but don’t feel comfortable changing them (e.g. because you feel like you’re going to screw up or because there’s simply no time to fiddle), or if your university is adamant on a template that you just can’t recreate (even asking for help in TeX Exchange), don’t go for this option.
Also, it’s worth noting that self-publishing companies don’t offer the same kind of flexibility that traditional thesis publishers do. For instance, traditional thesis publishers allow you to greatly lower your printing costs by bundling all your colour pages together. With self-publishing, it’s usually all B/W or all colour. As another example, my university requires a list of propositions5 to be printed on a separate sheet of paper. Since this service was not offered by the self-publishing company I chose, I had to print these separately6.
Which self-publisher?
There are several self-publishing and online distribution companies, the availability of which depends on where you live. Based on the reviews I found online and some minor prodding by Hugo, my PhD supervisor, I decided to go for Lulu.com. The quality is great, the prices are reasonable and it is available in the Netherlands (among many other countries). The fact that both the HoTT book and JOSIS use it also played a big role in my decision.
How?
If you use LaTeX, the whole process is reasonably easy. Here are the key steps:
1. Choose a self-publishing company
Good quality, decent price, fast shipping times and, of course, one that delivers to your country. As I mentioned, I went for Lulu.com. I am very happy with them.
2. Choose a paper size, paper type and pricing
Choose among the paper sizes and paper types available. Since I decided on a layout with many figures and notes on the margins, I went for crown quarto (18.90 x 24.58 cm), a British paper format which is a little bigger and more squarish than the B5 size most commonly used in the Netherlands. In a twist of fate, it’s also the small size used in the A+BE thesis series at my faculty. Note that B5 is not available from Lulu.com.
For the paper, since I have plenty of colour figures, I went for full-colour printing on nice glossy 118 g/m2 paper. I must say the result looks great.
3. Check the templates and rules
Download the paper templates available from your publisher. This is important for two reasons: (i) knowing the minimum margins you should use, and (ii) knowing which size your submitted PDF should be. I will explain these in order.
(i) During the printing process, your pages are generally cut down from a larger size. This is usually a semi-automatic process, so there is a certain degree of variation between pages and between book copies. In the worst case, if you put important stuff too close to the margins, it might end up being cut away. Having a design that looks unbalanced is a common problem.
(ii) If you want an element in the layout that reaches the margins of your cut pages (e.g. your pretty cover images or a thumb index), you will need to submit a document that is slightly larger than the final (cut) size. This is known as full-bleed.
4. Set the right paper size in your LaTeX document
How to properly do this depends on your base class. I used koma-script and used the geometry package to change it7. This setup works well also with the base book class. For memoir, it’s better to use the macros built specifically for that purpose. See here.
So, without further ado, here’s an example from my thesis. Without full bleed:
\usepackage[includemp,
            paperwidth=18.90cm,
            paperheight=24.58cm,
            top=2.170cm,
            bottom=3.510cm,
            inner=2.1835cm,
            outer=2.1835cm,
            marginparwidth=4cm,
            marginparsep=0.4cm]{geometry}
And with full bleed (1/8 inch trim margin, as required by Lulu.com):
\usepackage[includemp,
            paperwidth=19.54cm,
            paperheight=25.22cm,
            layoutwidth=18.90cm,
            layoutheight=24.58cm,
            layouthoffset=0.32cm,
            layoutvoffset=0.32cm,
            top=2.170cm,
            bottom=3.510cm,
            inner=2.1835cm,
            outer=2.1835cm,
            marginparwidth=4cm,
            marginparsep=0.4cm]{geometry}
5. Upload your contents PDF, get your spine width and fix errors
Simply upload your generated PDF file with the contents of your thesis. Lulu.com (and most others) use this file in order to generate their own print-ready PDF, which you can download and should check thoroughly. This process can change many things in your file, such as flattening transparencies and changing non-printable colours for others. Lulu.com also alerts you of problems in your file, such as missing fonts, low-resolution images, line drawings with too-thin lines, etc.
In the case of my thesis, I got no errors but did get several warnings. Based on those, I decided to re-do a few figures, redrawing some low-res images I had taken from other sources, thickening some lines, etc.
Once you have uploaded your PDF, you will also get a very important measure: your spine width. This is what you use to create a nice cover that wraps around your thesis. So now you can create a cover with width = 2*(paper width+trim margin)+spine width, and height = paper height+trim margin.
6. Flattening transparencies
One thing I also noticed was that all my pretty figures that included transparency looked very ugly. Upon some online searching, I discovered that this is a common problem with most printers, whether self-publishers or not.
Searching for an automated solution, the best I found was a two-step process that first converts from PDF to Postscript (.ps) and then from Postscript back to PDF. For best compatibility, I opted for a PDF version 1.3 that was sent to Lulu.com.
Mac OS X includes the command-line pdf2ps. However, I found that it generates rather ugly huge files. A lot of stuff is rasterised. As suggested by Stefaan Lippens, pdftops is a much better alternative. It rasterises less, thus generating a much smaller file. And it’s faster to boot!
pdftops is however not included in Mac OS X. But, if you have Homebrew, you can easily install it by typing:
$ brew install popplerThen, just generate a Postscript file of your thesis using:
$ pdftops -r 600 thesis.pdf thesis.psHere, I opted for a 600 DPI rasterisation where needed. This is what I believe Lulu.com is currently able to support. However, for future-proofing, I actually generated my PDF at 1000 DPI.
Finally, you can convert your generated Postscript file back to PDF 1.3 using:
$ ps2pdf13 thesis.ps thesis-v13.pdfI wouldn’t use this PDF for online distribution, but it should be good to print. I personally recommend doing the same for your cover (if in PDF), so that it gets the same treatment.
7. Upload your contents and cover PDFs, get an ISBN and check all
Now that you have print-ready PDFs, upload them. Then download the system-generated PDFs, which should now look almost the same as the ones you uploaded.
Once you verify that everything is okay, follow the publishing process and get an ISBN for your thesis. At the same time, you should be able to get a barcode that you can put on your cover.
Since I don’t want to put extraneous things in my cover, I added the barcode in the last printed page (which I made sure opened left). I also added the ISBN above the colophon, together with other details about the publication.
8. Upload and proof
Now that you have the final PDF, upload it. As usual, download the system-generated PDF. It’s worth it to be extra thorough this time, since unless you detect any errors, this will be the file that is sent for printing.
If everything looks okay, you can continue the publishing process. I would highly recommend you that you order a printed proof at this stage. Things can look different on paper. For one, I found several figures that I wanted to change, I found my inner margins too small and I was not happy at all with the colours in my cover.
9. Final corrections, upload and printing
Based on the problems I detected on the printed proof, I made several changes. At this point, the ideal process would be to upload another PDF and order another proof with your changes8. However, my PhD defence deadline was approaching fast. There was no time for a second proof.
So, as confident as I could be with this version, I made the book project public, made it available for sale in Lulu.com’s store, and started the procedures to get it indexed on Google Books and to have it for sale on Amazon.com. Most importantly, I ordered all 40 copies of the thesis that I required.
Final verdict
After making the order on Sunday evening, all copies of my thesis arrived on Friday morning in 3 (very heavy!) boxes. That was fast! Half the usual delivery time from a standard thesis printer here.
The quality is great. Great as in coffee-table art book great. The price was similar as what I would have expected from standard thesis printers for a somewhat lower quality print. The trimming accuracy was very good, contrary to what other reviewers online have posted before.
So, all in all, highly recommended.
-
Insofar as the academic requirements and my personal preferences do not conflict. Fortunately, my university is pretty sensible and so I only needed to compromise on very little. ↩
-
This might also be true for you are a perfectionist user of publishing software like Adobe InDesign or if you use Word and just don’t care about how your book looks (which will be pretty bad). ↩
-
In fact, there were a few MS Word fans (yes, they do exist) actively dissuading LaTeX users from self-publishing! I will leave a longer diatribe for another time, but if you care at all about nice typesetting, don’t send your Word document directly to print. ↩
-
The two closest examples I could find were the HoTT book and the volumes of JOSIS, both of which I greatly admire as excellent examples of open science. The HoTT book was written in a fantastically collective process using GitHub. Just see this video. JOSIS is a great volunteer-run, open-access GIS journal. I haven’t had the chance to submit anything to it yet, but I hope to do so soon! ↩
-
An extremely old-fashioned (as in the Middle Ages) aspect of theses in the Netherlands. Basically, your thesis is accompanied by a list of statements, some of which are related to your thesis and some of which are not. The idea is that you, as a future scientist, should be able to formulate hypotheses that can serve as a base for debate and future investigation. Personally, I find them very cool. Others hate them. ↩
-
Based on advice from Jonas Teuwen, I just went to a copy shop and did it. If you’re wondering, I did it with the nice guys at Sieca, who helped me find a paper that matched the (proof) thesis and always do nice quality stuff. ↩
-
Yes, I know that this combination is not particularly recommended. The package
typeareawould be better, but it caused me problems elsewhere. ↩ -
Since I couldn’t do a second proof, I did find some (very minor) layout issues in the printed theses. But nothing major (so far). ↩